Single Merchant
Single Merchant
The Ecommerce Shop in our demonstration is a simple shop for jewelry and accessories and acts as the starting point for the customer journey.
It is important to understand that the shop is not a part of CoreWallet. It is built as a simple demonstration on how the merchant-facing APIs offered by the DemoWallet above would be consumed. It’s sole purpose is to demonstrate the checkout capabilities offered by CoreWallet.
How consumer and merchant interact through CoreWallet entities
There are a number of predefined participants in a purchase scenario, which we’re going to discuss briefly:
- A merchant is offering goods or services through an ecommerce site. They have registered with DemoWallet as a merchant and have been assigned the MERCHANT role.
- A shop configuration is the merchant’s setup of their ecommerce site with a couple of specific parameters, like currency, merchant category code, redirect URLs and authentication.
- A consumer is the buyer of goods from a merchant using their ecommerce site. They have registered with DemoWallet as a consumer – either explicitly or implicitly by means of a guest purchase – and have assigned the CONSUMER role.
- A purchase is a business transaction containing all information to process a checkout. It is initiated by the merchant through the corresponding shop configuration and is then enriched with consumer and payment details.
- A payment is a business transaction containing all information to process a payment. It is created from within the purchase process if the consumer does not have enough emoney balance on his account to settle the purchase.
- A payment method is a possible payment option, like credit card or direct debit. The available payment methods are a product configuration and depend e.g. on the market the product is operating in. For this demonstration, credit card and PayPal are configured.
- A payment instrument represents a concrete source of funds for the emoney wallet, like a credit card or bank account. CoreWallet allows to store multiple payment instruments for each consumer.
When an ecommerce checkout is initiated, the merchant creates a new purchase transaction using the authentication of the corresponding shop configuration. It is the merchant’s responsibility to select the correct shop configuration, should they maintain more than one. In this demonstration scenario, only one shop configuration is in use.
DemoWallet responds to the merchant with the newly created purchase entity, which also contains a redirect URL where the consumer needs to be sent to in order to process the payment.
On the DemoWallet side, the consumer can decide whether they want to proceed with a “full” DemoWallet account or as a guest. In case of a full account, existing and usable emoney balance on the account will be considered for the payment. In case of insufficient payment or in case of a guest purchase, the remaining amount will be paid from a payment instrument entered by the user.
If a payment needs to be made for the purchase, DemoWallet determines possible payment methods, depending on a variety of parameters, like the consumer’s verification level, the merchant category code of the purchase, or the currency. The payment methods are presented to the consumer for selection. If the consumer had already stored payment instruments in their full account, they will be available for selection as well.
The consumer then confirms the purchase and the corresponding payment instrument is charged, and / or emoney balance is deducted accordingly.
The consumer is then taken back to the shop, where the purchase process ends.
Try it out
An ecommerce store offering DemoWallet as a payment method is often the first point of contact for new consumers. Thus, you can start the ecommerce PSP demonstration in the Ecommerce Shop:
Browse to https://demowallet.trimplement.com/shop to get to our simple example shop:

The shop doesn’t offer any more functionality than adding items to the basket (the icon in the top right). Once you added some items to the basket, you can proceed to checkout by clicking on the icon.
The following screen gives an overview of the items currently in the basket and allows you to proceed to checkout.

On the checkout screen, the final amount due is presented and the customer needs to provide their details like billing and shipping address. The customer can then proceed to payment by selecting DemoWallet as a payment method at the bottom of the screen. (Obviously, in a real world scenario, additional payment methods might be offered at this point.)

You will now see a little popup at the bottom right (“DemoWallet API insight”), because at this point in time, the ecommerce site will initiate the transaction with DemoWallet and sends all information gathered from the customer to the DemoWallet.
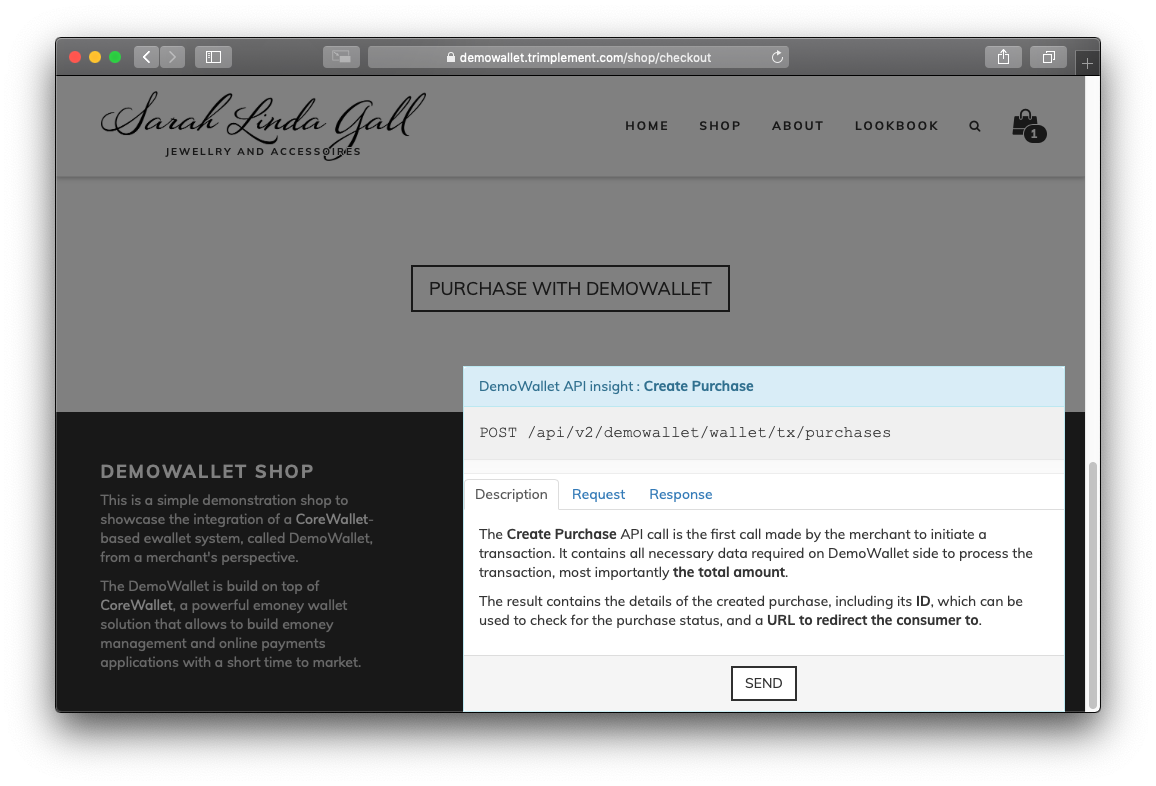
You can inspect the description provided in the popup and the request JSON for detailed information on the purpose and content of the request. After clicking SEND, you can also inspect the response JSON. Interesting parameters in request and response JSON are underlined, additional details are displayed when you hover these fields with your mouse.
💡 |
In a production application, this and any other API call shown in this demo would be made server-to-server. They’re done in the browser solely for demonstration purposes. |
The response also contains a redirect URL for the payment page of DemoWallet. By redirecting the consumer to this URL, they leave the ecommerce shop and are redirected to the DemoWallet to initiate the payment.
💡 |
We have deliberately decided to separate the shop and the wallet pages for the sake of clarity. It is of course possible to integrate the checkout directly on the merchant’s site without having a “media break” in the user experience. |
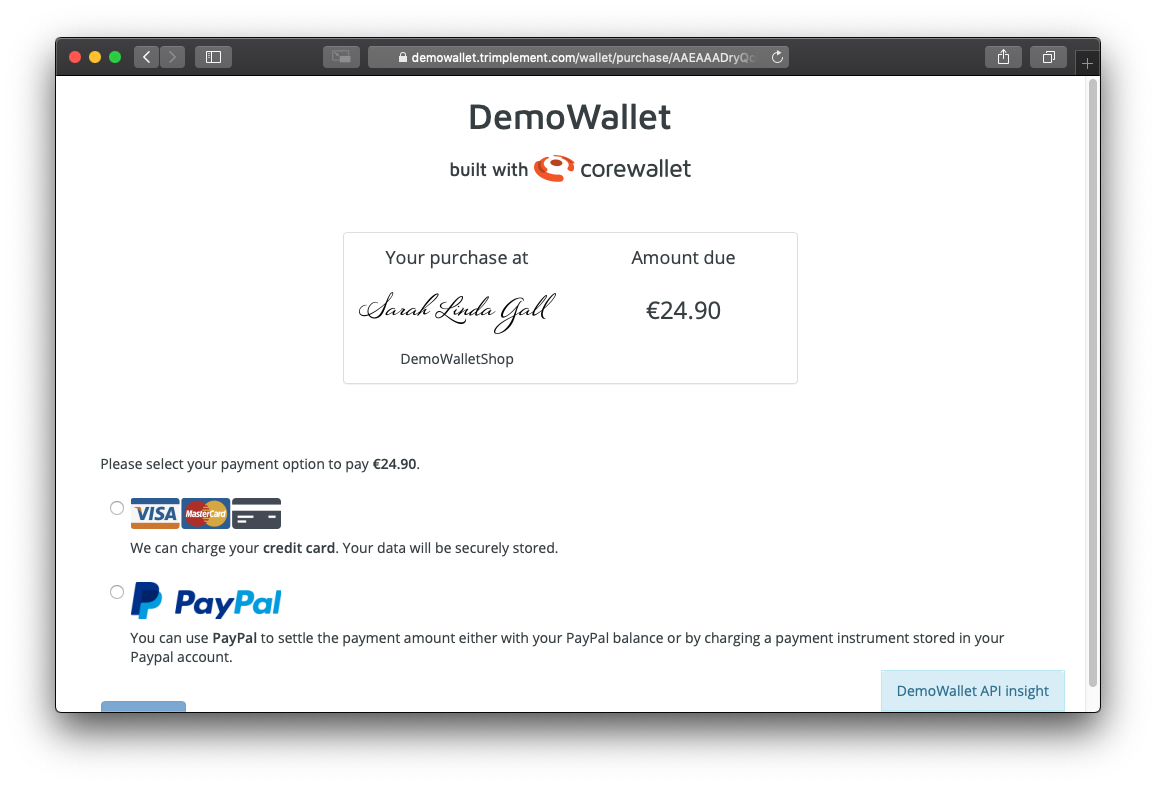
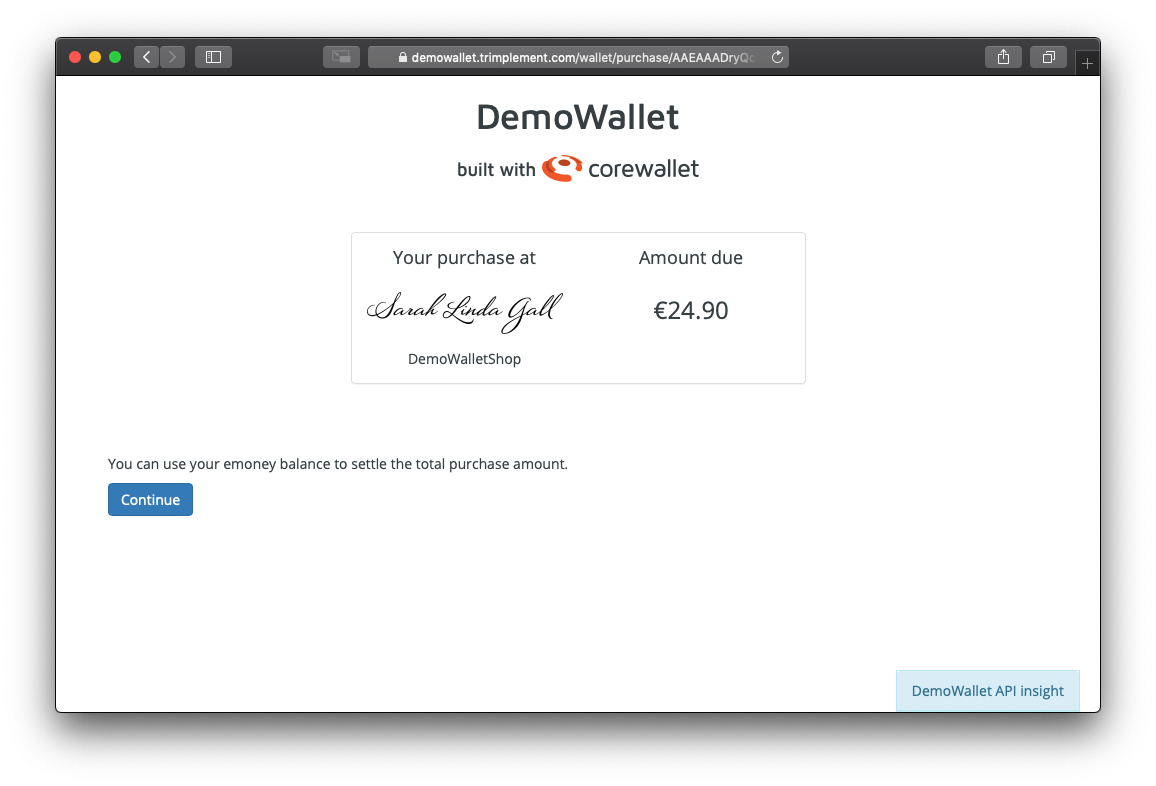
DemoWallet presents the overall amount due and basic information about the purchase transaction. The consumer now needs to decide whether they will proceed as a guest, sign up for a new DemoWallet account, or login with an existing account:

Purchase as guest
We will proceed with the first option for now, “Continue as Guest”. DemoWallet will create a so-called Guest Wallet for the user, using the data known from the purchase.
It is particularly interesting to review the response of the “Create Guest Wallet” API call. You will see that a new wallet of type “Guest” was created, and that it consists of one “walletAccount” with 0 balance.
The response also contains an “authentication” block with credentials for this guest wallet. The UI will use these credentials for subsequent calls, so that they’re properly attributed to and executed within the scope of the newly created guest wallet.
The next step, “Create Payment Session”, is to determine a list of available payment methods, based on a number of parameters, like the verification status of the user, the purchase currency, etc., the corresponding payment instruments already stored in the user’s account, and the payment amount, depending on whether there’s any emoney available to be used.
Obviously, for a guest wallet, neither emoney nor payment instruments exist.
At the time of this writing, credit card and PayPal are available payment methods; the list may change based on the current DemoWallet configuration.
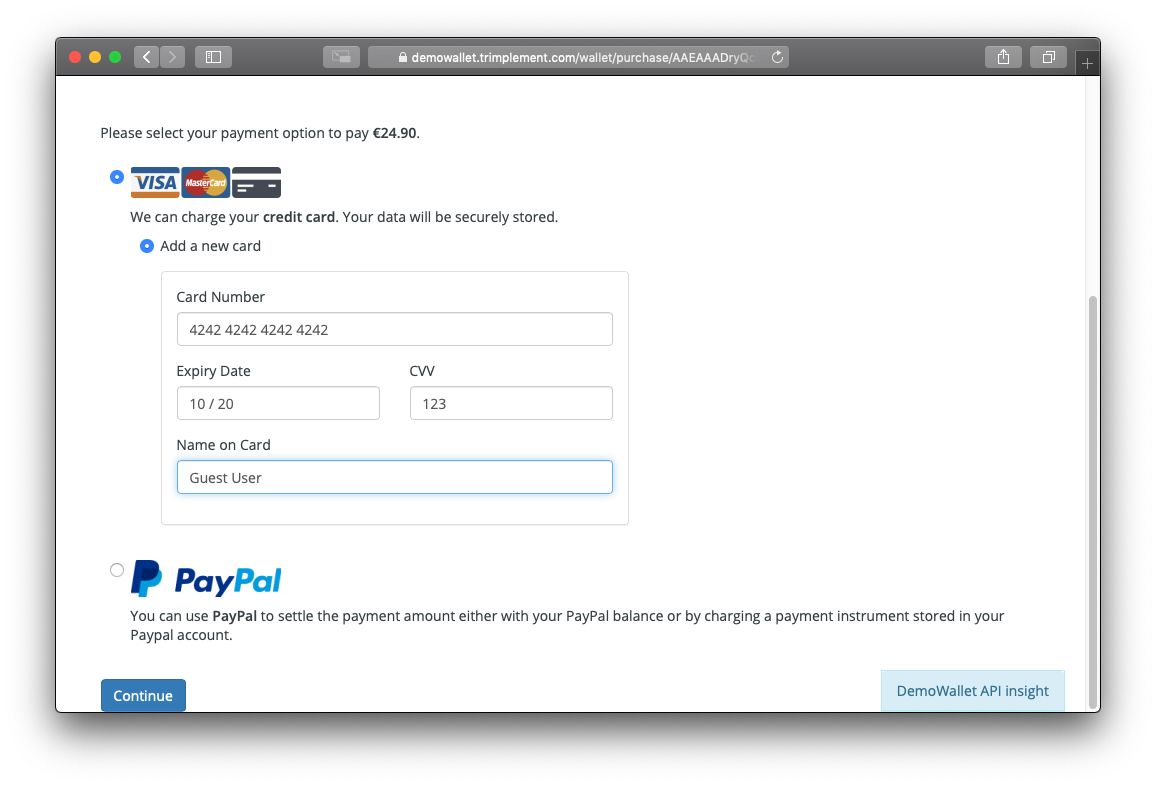
For this demonstration, you can proceed by selecting credit card and entering an official test credit card number, any valid expiry date in the future and an arbitrary CVV.
💡 |
CoreWallet allows different strategies when dealing with duplicate credit card numbers (PANs). On the DemoWallet system, PANs cannot be reused in multiple wallets, with one exception: 4242 4242 42424 4242 is whitelisted and can be used in multiple wallets. |
Two more API calls need to be made in order to finalize the purchase transaction.
The “Prepare Confirm Purchase” call will prepare the purchase, including calculation of possible additional fees depending on the selected payment method. This can be presented to the user one last time for a final confirmation.
Note that when this call is made, the purchase is associated to the user’s wallet and cannot be processed through a different wallet anymore. Also, you will notice that the purchase contains different amount fields for consumer and merchant amount, which allows both parties to transact with different currencies.
The “Confirm Purchase” concludes the purchase process and triggers the payment with the selected payment method.
Afterwards, the consumer is redirected back to the shop. The redirect already contains status information so that it can be displayed to the consumer. However, since these parameters could be tampered with, the shop will also fetch the actual purchase status using another “Get Purchase” API call and use this result for its own further processing.
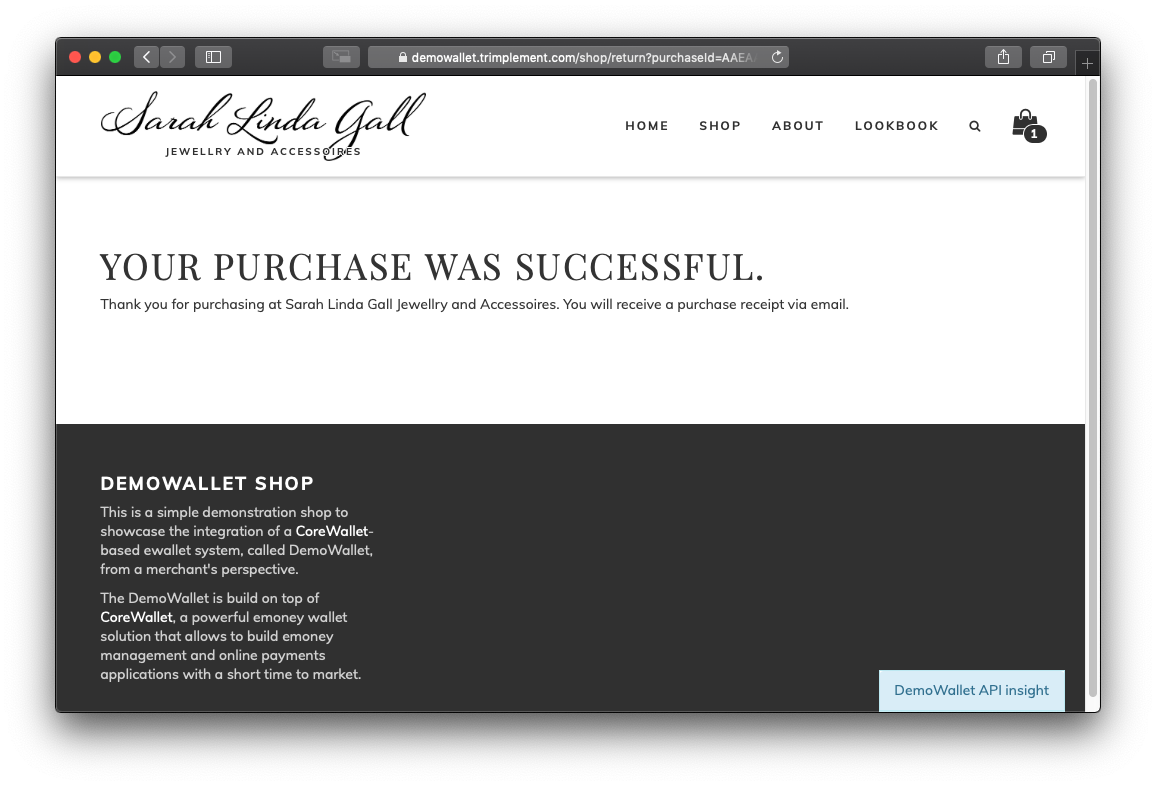
In this demonstration, purchases are committed automatically. This means that there’s no additional confirmation necessary by the merchant, e.g. to verify that an item is in stock. CoreWallet provides for this additional step, so that the checkout process can be enhanced accordingly.
Purchase as a registered user with emoney
Instead of using a guest wallet, consumers may also chose to sign up for a DemoWallet account. In a real life scenario, where consumers may want to use an ewallet repeatedly or to shop with different merchants, this brings additional convenience because it offers a full transaction history and allows to store their payment instrument for reuse. For registered users, a so-called full wallet will be created, instead of a guest wallet. Full wallets also can be topped up with emoney which can be used in a purchase.
To create a new account, you can either initiate a new purchase and then select “Create a new account” on the first DemoWallet page, or you can sign up independently of a purchase, first, which we will do now:
Browse to https://demowallet.trimplement.com/wallet/signup and enter your user details:
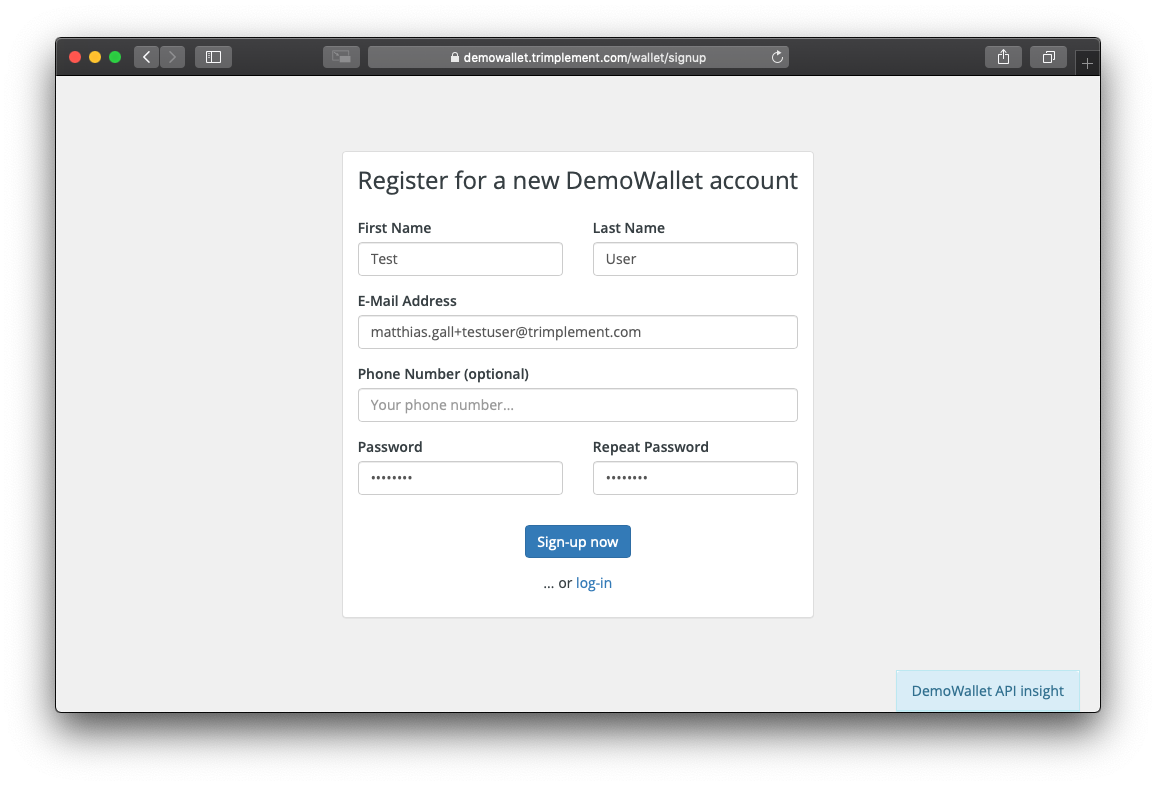
💡 |
If you want to create multiple accounts using one email account, you can extend your email with +1, +2,... e.g. your.name+1@yourcompany.com, your.name+2@yourcompany.com. Please do not use any sensitive information during registration. |
The registration API call will be shown, and similar to the guest wallet created earlier, it contains authentication information which will be used for subsequent API calls. Most important difference is the walletType attribute, which is now Full instead of Guest.
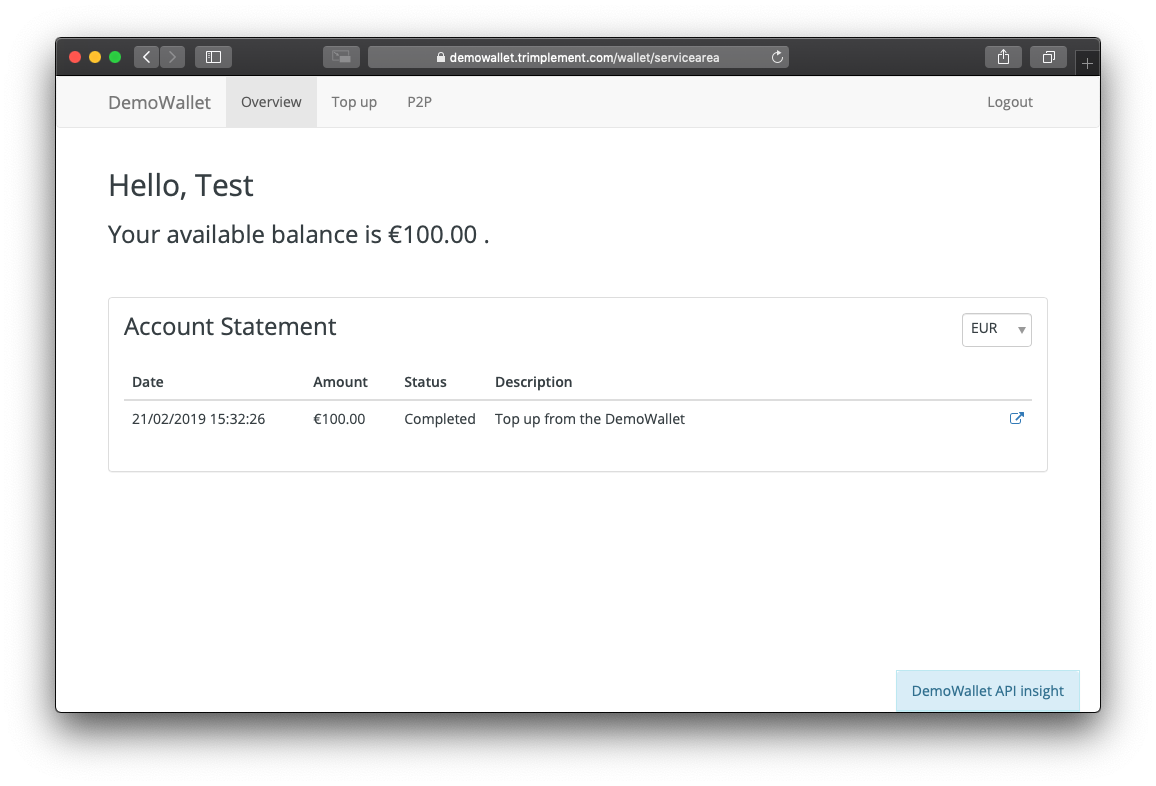
You will then be greeted with your account overview page.
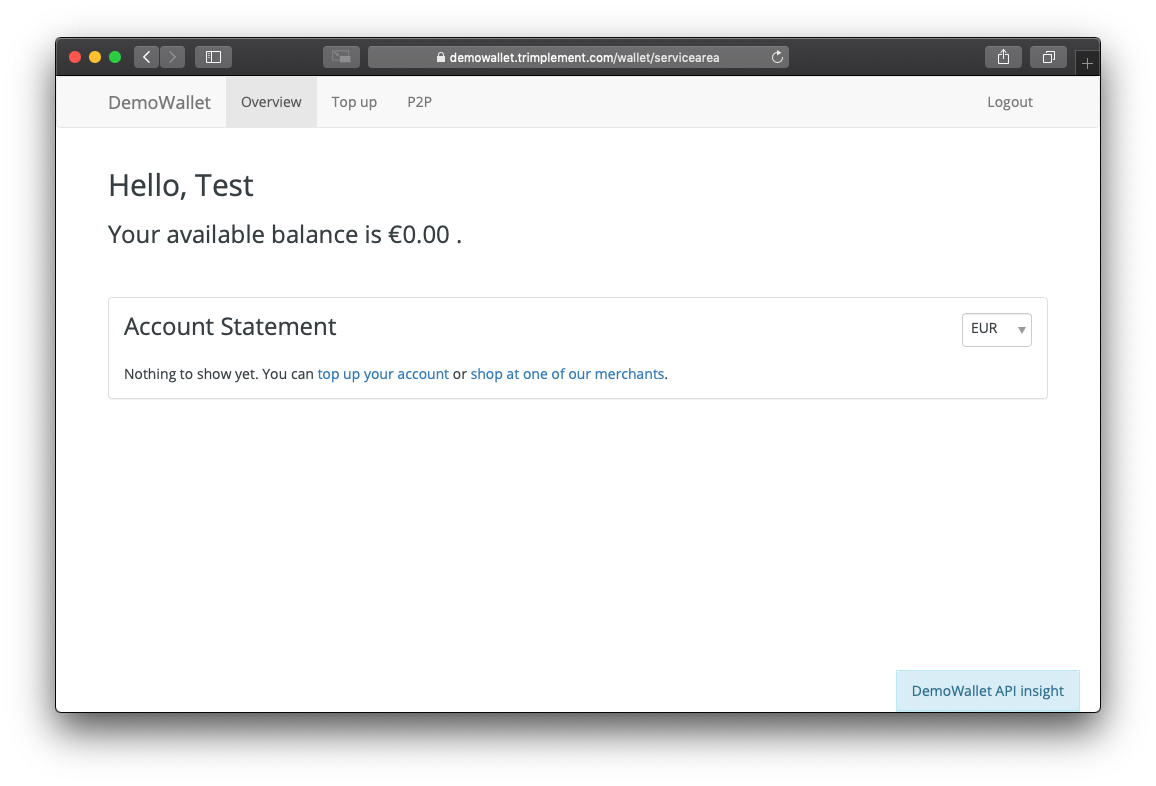
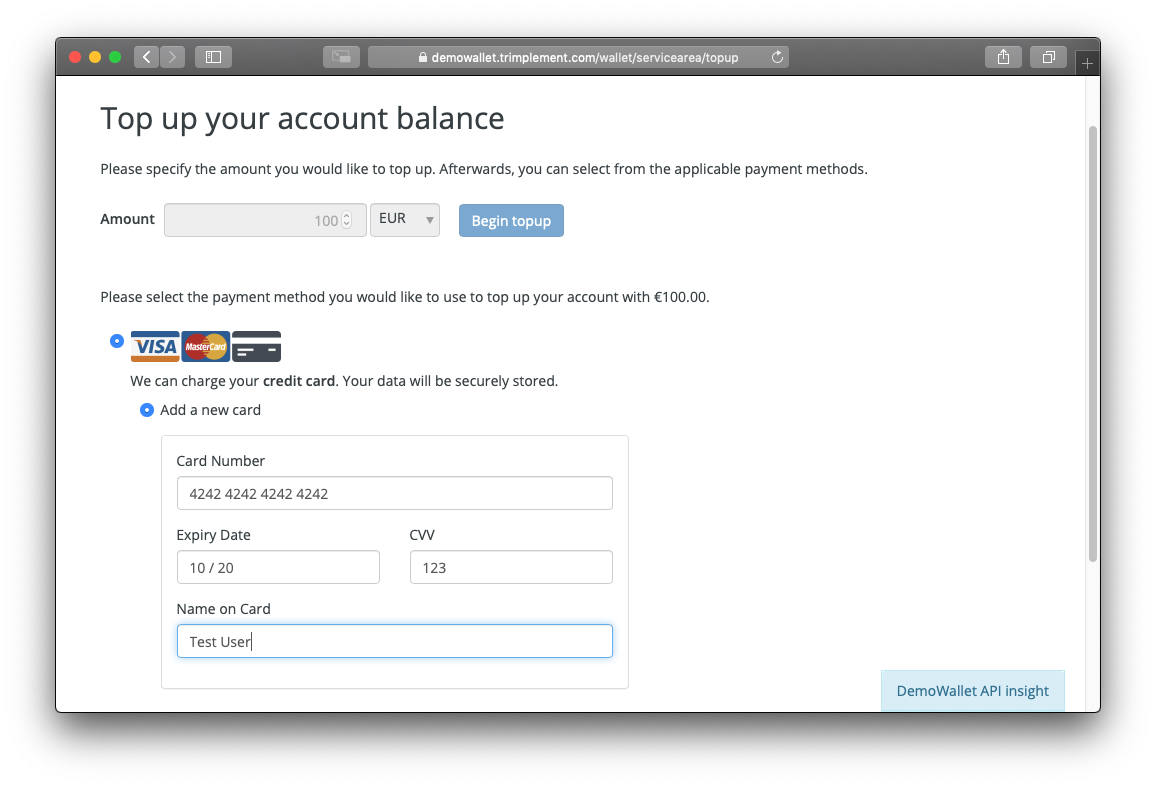
To top up your balance, navigate to the “Top up” menu item in the top navigation bar, and specify the amount you’d like to top up, then click “Begin topup”. To demonstrate a purchase with emoney balance, please enter an amount which will be larger than your purchase, e.g. 100 EUR.
Similar to the purchase process, the available payment methods for the top up will be determined next in the “Create Payment Session” call and then presented to the consumer:
The top up payment process is split into two steps, just like the purchase process. This is done in order to calculate possible fees depending on the selected payment method, and to ask for a final confirmation:
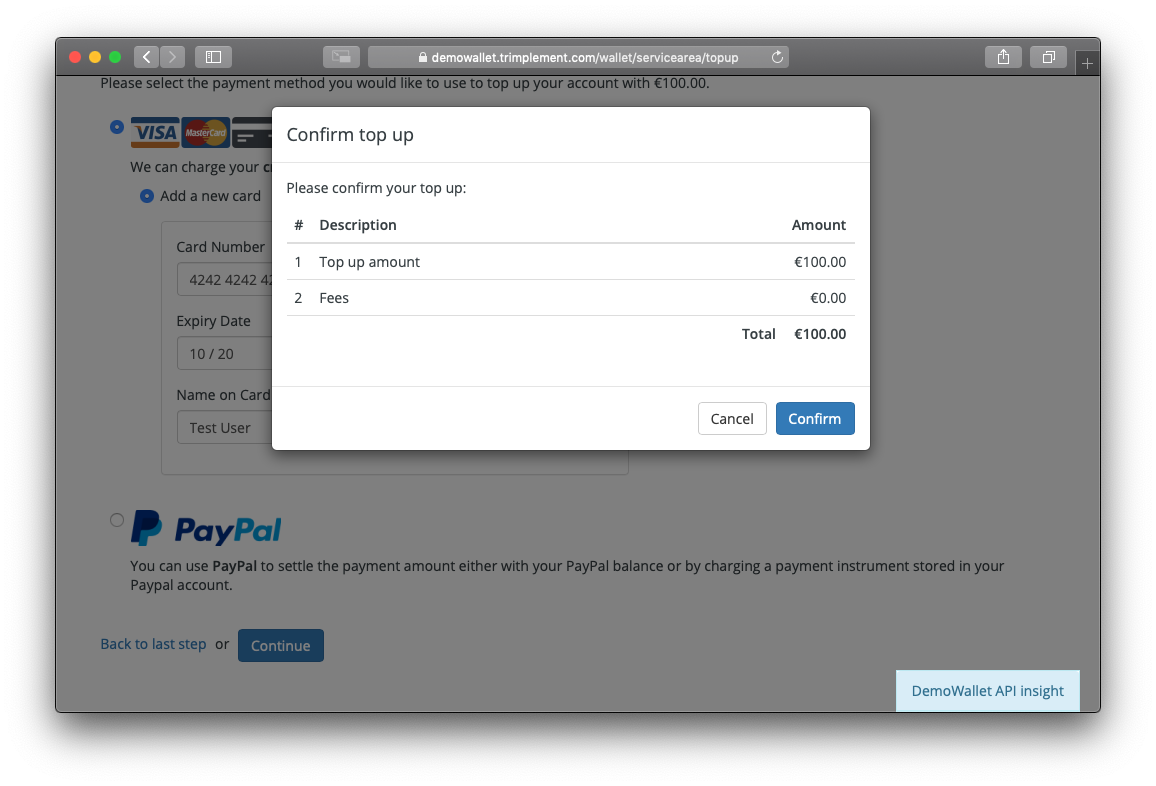
Once confirmed, the selected payment instrument will be charged and the corresponding amount will be credited to your emoney balance. You will be redirected back to the overview page, where your balance now shows the topped up amount and your account statement contains one line with your top up payment.
Now, you can do another purchase in our demonstration shop. Browse to https://demowallet.trimplement.com/shop and proceed to the checkout until you get redirected from the shop to the DemoWallet.
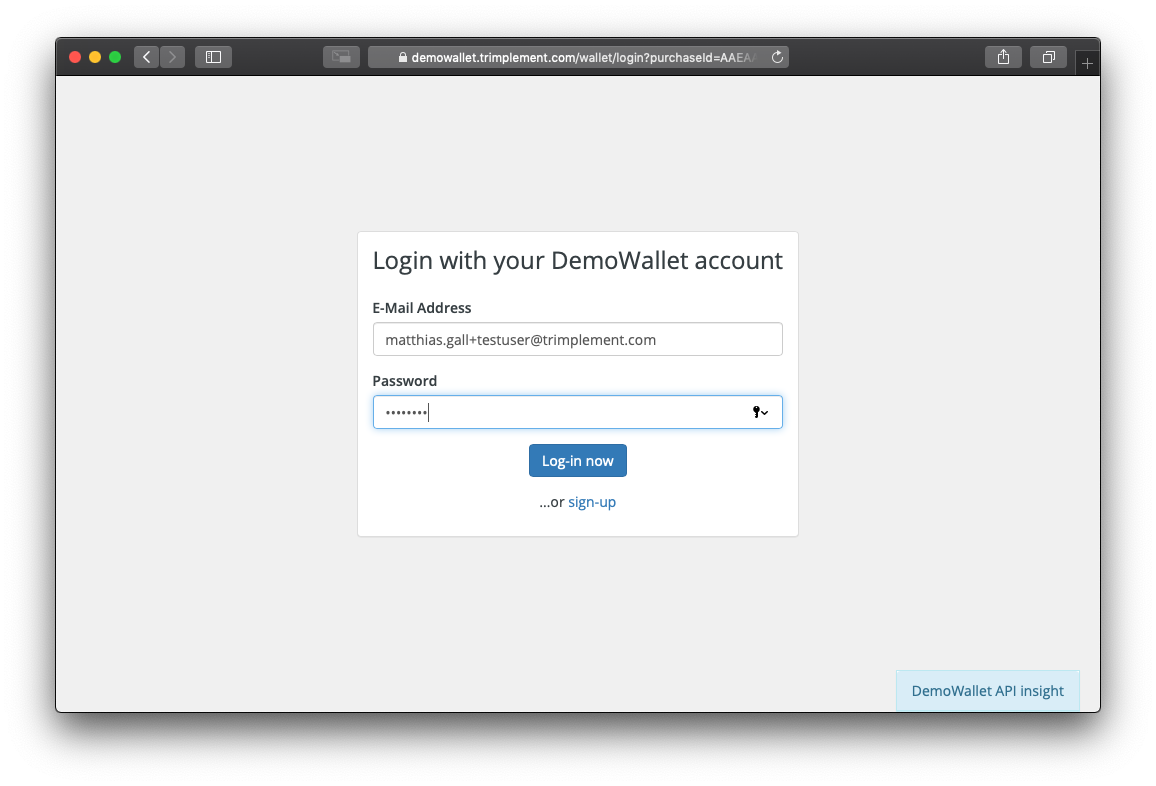
Instead of proceeding as a guest, login with your DemoWallet user now.
After login, the available payment methods will be determined again in the “Create Payment Session” call. Please inspect the API call response now. You will notice that the paymentAmount is 0 this time, and the emoneyAmount is equal to the total basket amount, because the full purchase can be covered with emoney.
{
  "apiVersion": "2.0",
  "data": {
    "walletId": "AAEAAAMnDPp43yGGpXshtuGm",
    "purchaseId": "AAEAAADryQchjeAy1V246kj1",
    "paymentAmount": {
      "currency": "EUR",
      "amount": 0
    },
    "emoneyAmount": {
      "currency": "EUR",
      "amount": 24.9
    },
    "paymentMethodDetails": null
  }
}
The UI presents this information accordingly:
The remainder of the purchase flow is equal to the guest purchase checkout described above.